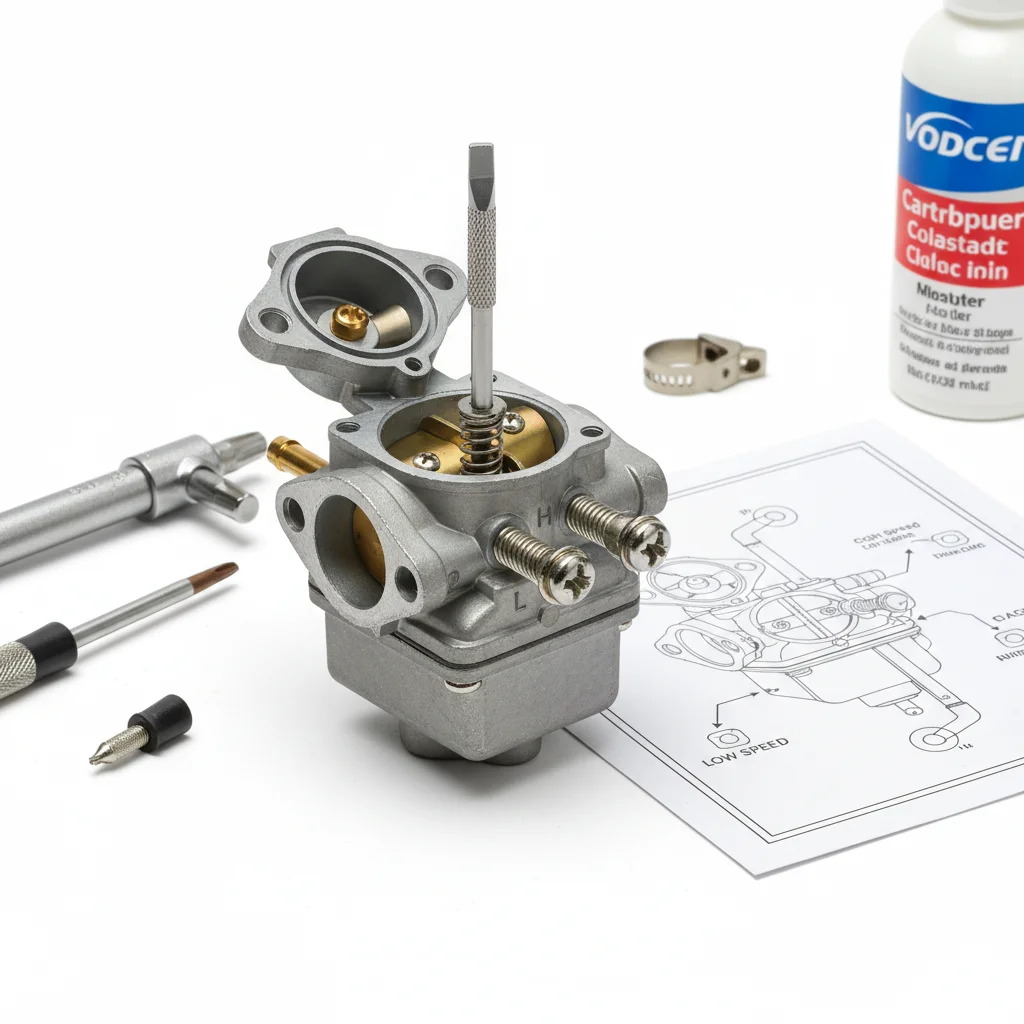
Adjusting your leaf blower’s carburetor is crucial for maintaining optimal engine performance and can significantly extend its lifespan. A properly tuned carburetor ensures the correct air-fuel mixture, leading to easier starts, smoother idling, and maximum power output. You can typically adjust a leaf blower carburetor using three main screws: the high-speed (H), low-speed (L), and idle (T) screws, though some models may only have two or even one. This guide will walk you through the process to achieve peak performance.
Understanding Your Carburetor Adjustment Screws
Before you begin, it’s important to identify the adjustment screws on your leaf blower’s carburetor. The ‘H’ screw controls the fuel mixture at high RPMs, affecting the blower’s power when fully throttled. The ‘L’ screw manages the fuel mixture at low RPMs, influencing starting and idling. The ‘T’ or idle speed screw adjusts the engine’s idle RPM, preventing it from stalling when the throttle is released. Always consult your owner’s manual for specific locations and recommended starting points for these screws, as designs can vary between manufacturers. For more leaf blower guides on this site.
Safety First: Preparation for Adjustment
Safety should always be your top priority when working with power tools. Ensure your leaf blower is turned off and has cooled down before you begin any adjustments. Wear appropriate personal protective equipment, including safety glasses and gloves. Work in a well-ventilated area, as you will be running the engine during the tuning process. Have a small, flat-head screwdriver or a specialized carburetor adjustment tool ready, as many modern carburetors use tamper-proof D-shaped or splined tools.
The Step-by-Step Carburetor Tuning Process
|
Our Picks for the Best Leaf Blower in 2026
As an Amazon Associate I earn from qualifying purchases.
|
||
| Num | Product | Action |
|---|---|---|
| 1 | EGO POWER+ Leaf Blower, Cordless Electric 530 CFM, Battery and Charger Not Included - LB5300 |

|
| 2 | Electric Leaf Blower Cordless, 21V Battery Powered Blower with 2 x 4.0Ah Battery and Charge, 715CFM &180MPH and 3 Speed Mode, Brushless Handheld Blowers for Lawn Care, Yard, Leaves, Dust, Snow |
|
| 3 | WORX 12 Amp Electric Leaf Blower, Turbine Blower for Lawn Care with 600 CFM & 2 Speed Control, Corded, WG520 |
|
| 4 | BLACK+DECKER Electric Leaf Blower, Handheld Blowers for Lawn Care, Lightweight, 180 MPH 180 CFM, 7-Amp, Corded (LB700) |
|
| 5 | DEWALT 20V MAX Blower, 100 CFM Airflow, Variable Speed Switch, Includes Trigger Lock, Bare Tool Only (DCE100B) |
|
| 6 | 6-Speed Modes Cordless Leaf Blower 21V,200MPH High-Velocity Electric Blower,Lightweight for Dry/Wet Leaves,Lawn Debris,Garage and Driveway Cleaning,Red |
|
| 7 | WORX Cordless Leaf Blower, Electric Blower with Turbine Fan, Blowers for Lawn Care with 2 Speed Control, Battery & Charger Included, WG547 |
|
| 8 | BLACK + DECKER Electric Leaf Blower, Hand Held Blowers for Lawn Care, Up to 450 CFM and 140 MPH Power, Axial, Lightweight, Corded (BEBL750) |
|
| 9 | 20V Handheld Electric Cordless Leaf Blower with 2.0Ah Battery & Fast Charger, Powerful up to 93 MPH, 350 CFM Stepless Speed Control, Powerful for Yard Cleaning |
|
| 10 | MZK Cordless Leaf Blower,20V Battery Powered Electric Blower for Lawn Care, Electric Lightweight Leaf Blower for Blowing Leaves, Patio Cleaning and Dust(2 * 2Ah Battery & Charger Included),LF40D13 |
|
Start by cleaning the air filter and spark plug, as a dirty filter or faulty plug can mimic carburetor issues. Once clean, start the engine and let it warm up for a few minutes. Begin with the ‘L’ screw: slowly turn it clockwise until the engine starts to falter, then turn it counter-clockwise until it runs smoothly. Next, adjust the ‘H’ screw. With the engine at full throttle, turn the ‘H’ screw clockwise until the engine ‘four-strokes’ (makes a sputtering sound), then slowly turn it counter-clockwise until it runs cleanly and powerfully. Finally, adjust the ‘T’ screw to achieve a stable idle without the fan spinning. If your blower has only one adjustment screw, it typically controls the main fuel mixture, and you’ll adjust it for the smoothest overall operation.
- Always refer to your leaf blower’s owner’s manual for specific carburetor screw locations and initial settings.
- Make small, incremental adjustments (1/8 to 1/4 turn at a time) to avoid over-adjusting.
- Listen carefully to the engine’s sound and observe its performance after each adjustment.
- If the engine still runs poorly after adjustment, consider checking the fuel filter, fuel lines, and spark arrestor screen.
- For tamper-proof screws, you may need a specialized carburetor adjustment tool kit.
Common Issues and Troubleshooting Tips
If your leaf blower is still not running correctly after adjusting the carburetor, several other factors could be at play. A clogged fuel filter can restrict fuel flow, leading to poor performance. Old or stale fuel can also cause issues; always use fresh, properly mixed fuel. A dirty spark arrestor screen can restrict exhaust flow, causing the engine to bog down. If the problem persists, the carburetor itself might be faulty and require a rebuild kit or replacement. Sometimes, a simple primer bulb replacement can resolve starting issues.
When to Seek Professional Help
While carburetor adjustment is a common DIY task, there are times when professional help is warranted. If you’ve followed all the steps and your leaf blower still isn’t performing optimally, or if you’re uncomfortable making these adjustments yourself, it’s best to take it to a qualified small engine mechanic. They have specialized tools and expertise to diagnose and repair more complex issues, ensuring your leaf blower operates safely and efficiently. Regular maintenance, including proper fuel storage and air filter cleaning, can prevent many carburetor-related problems in the first place.
Get our weekly buyer guide
Practical specs, not advice. Unsubscribe anytime.
