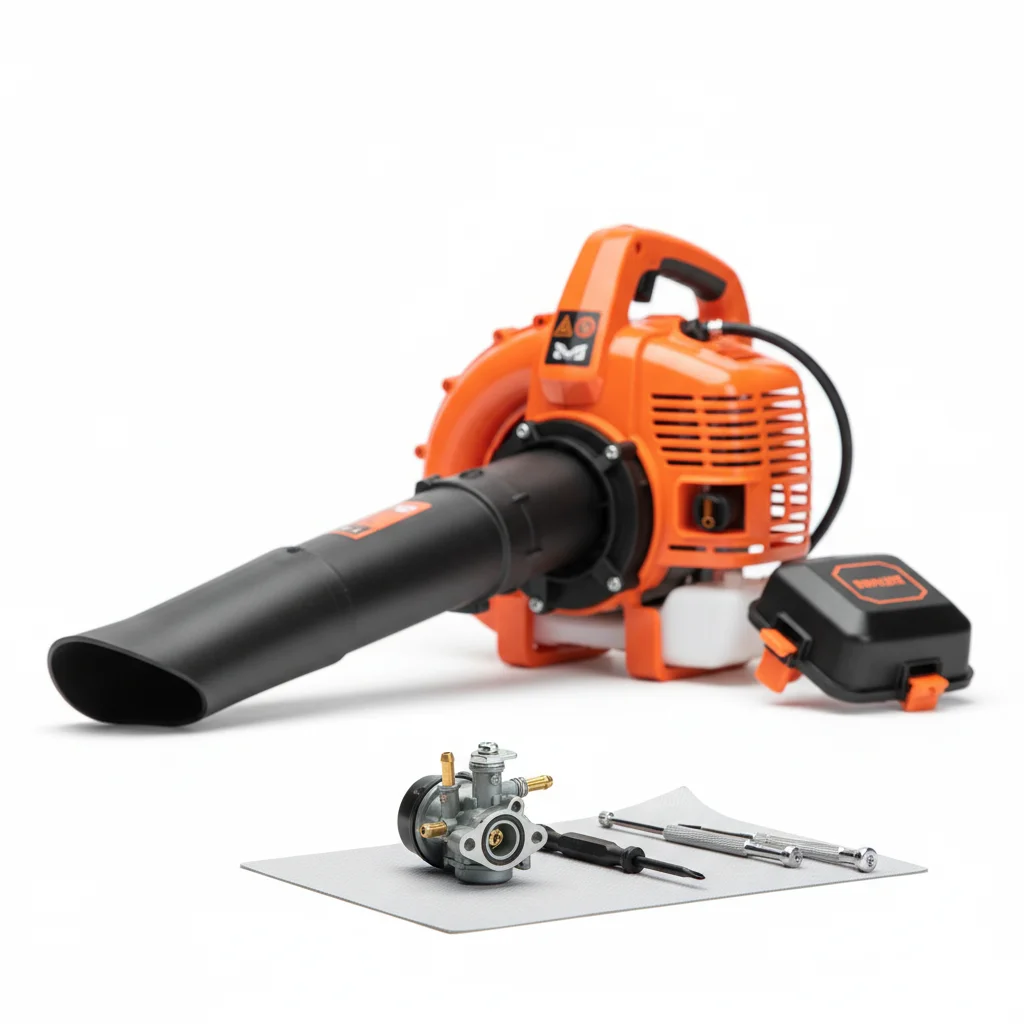
Adjusting your leaf blower’s carburetor is a crucial maintenance task that can significantly improve its performance and fuel efficiency. Typically, you’ll need to adjust your carburetor every 10-20 hours of use, or if you notice issues like stalling, poor acceleration, or excessive smoke. This guide will walk you through the five essential steps to properly adjust your leaf blower carburetor for optimal performance.
Understanding Your Carburetor’s Adjustment Screws
Most leaf blower carburetors feature two or three adjustment screws: ‘L’ (Low-speed), ‘H’ (High-speed), and sometimes ‘T’ (Idle). The ‘L’ screw controls the fuel-air mixture at idle and low RPMs, while the ‘H’ screw manages the mixture at full throttle. The ‘T’ screw, if present, adjusts the engine’s idle speed. Before you begin, it’s vital to identify which screw controls what function on your specific model. Consult your owner’s manual if you’re unsure. Incorrect adjustments can lead to engine damage, so proceed with caution.
Step 1: Initial Setup and Safety Precautions
Before making any adjustments, ensure your leaf blower is on a flat, stable surface and the engine is cool. Disconnect the spark plug wire to prevent accidental starting. Gather the necessary tools, which usually include a small flat-head screwdriver or a specialized carburetor adjustment tool. Wear appropriate safety gear, including gloves and eye protection. Make sure you have a clear understanding of the ‘L’ and ‘H’ screw functions before proceeding to avoid over-tightening or incorrect settings.
Step 2: Adjusting the Low-Speed (L) Screw
Start the engine and let it warm up for a few minutes. With the engine idling, slowly turn the ‘L’ screw clockwise until the engine begins to falter or run rough. Then, slowly turn it counter-clockwise until the engine smooths out and reaches its fastest idle speed. If your leaf blower has an idle (T) screw, adjust it to achieve a stable idle without the blower head spinning. The goal here is to find the sweet spot where the engine idles smoothly without bogging down or racing excessively. This adjustment is critical for smooth acceleration from idle.
- Warm up the engine for 2-3 minutes.
- Turn ‘L’ screw clockwise until engine falters.
- Turn ‘L’ screw counter-clockwise until engine idles smoothly.
- Adjust ‘T’ screw (if present) for stable idle.
- Listen for consistent engine sound without hesitation.
Step 3: Adjusting the High-Speed (H) Screw
|
Our Picks for the Best Leaf Blower in 2026
As an Amazon Associate I earn from qualifying purchases.
|
||
| Num | Product | Action |
|---|---|---|
| 1 | 20V Handheld Electric Cordless Leaf Blower with 2.0Ah Battery & Fast Charger, Powerful up to 93 MPH, 350 CFM Stepless Speed Control, Powerful for Yard Cleaning |

|
| 2 | Electric Leaf Blower Cordless, 21V Battery Powered Blower with 2 x 4.0Ah Battery and Charge, 715CFM &180MPH and 3 Speed Mode, Brushless Handheld Blowers for Lawn Care, Yard, Leaves, Dust, Snow |
|
| 3 | MZK Cordless Leaf Blower,20V Battery Powered Electric Blower for Lawn Care, Electric Lightweight Leaf Blower for Blowing Leaves, Patio Cleaning and Dust(2 * 2Ah Battery & Charger Included),LF40D13 |
|
| 4 | WORX Cordless Leaf Blower, Electric Blower with Turbine Fan, Blowers for Lawn Care with 2 Speed Control, Battery & Charger Included, WG547 |
|
| 5 | EGO POWER+ Leaf Blower, Cordless Electric 530 CFM, Battery and Charger Not Included - LB5300 |
|
| 6 | 6-Speed Modes Cordless Leaf Blower 21V,200MPH High-Velocity Electric Blower,Lightweight for Dry/Wet Leaves,Lawn Debris,Garage and Driveway Cleaning,Red |
|
| 7 | BLACK + DECKER Electric Leaf Blower, Hand Held Blowers for Lawn Care, Up to 450 CFM and 140 MPH Power, Axial, Lightweight, Corded (BEBL750) |
|
| 8 | BLACK+DECKER Electric Leaf Blower, Handheld Blowers for Lawn Care, Lightweight, 180 MPH 180 CFM, 7-Amp, Corded (LB700) |
|
| 9 | DEWALT 20V MAX Blower, 100 CFM Airflow, Variable Speed Switch, Includes Trigger Lock, Bare Tool Only (DCE100B) |
|
| 10 | WORX 12 Amp Electric Leaf Blower, Turbine Blower for Lawn Care with 600 CFM & 2 Speed Control, Corded, WG520 |
|
Once the low-speed is set, it’s time to adjust the high-speed screw. With the engine running at full throttle, slowly turn the ‘H’ screw clockwise until the engine starts to ‘four-stroke’ (a sputtering sound indicating a rich mixture). Then, slowly turn it counter-clockwise until the engine runs smoothly and reaches its maximum RPM without sounding like it’s straining or ‘screaming’ (a lean mixture). A slightly rich setting is generally safer for the engine than a lean one, as a lean mixture can cause overheating and damage. You want a strong, consistent roar at full power.
Step 4: Fine-Tuning and Testing
After making the initial ‘L’ and ‘H’ adjustments, it’s essential to fine-tune and test the leaf blower. Accelerate from idle to full throttle several times. The engine should accelerate smoothly without hesitation or bogging down. If it bogs, slightly richen the ‘L’ screw (turn counter-clockwise). If it smokes excessively at full throttle, slightly lean the ‘H’ screw (turn clockwise). Listen carefully to the engine’s sound and observe its performance. Make small, incremental adjustments until you achieve optimal performance across the entire RPM range.
Step 5: Final Checks and Maintenance Tips
Once you’re satisfied with the carburetor adjustments, re-attach the spark plug wire securely. It’s a good practice to periodically check your air filter and fuel filter, as a clogged filter can mimic carburetor issues. Regular maintenance, including using fresh fuel and proper fuel-oil mix for 2-stroke engines, will extend the life of your leaf blower and reduce the need for frequent carburetor adjustments. If you’re still experiencing problems after following these steps, it might be time to consider a professional service or a carburetor rebuild kit.
Get our weekly buyer guide
Practical specs, not advice. Unsubscribe anytime.
